

This window will appear.
Mac: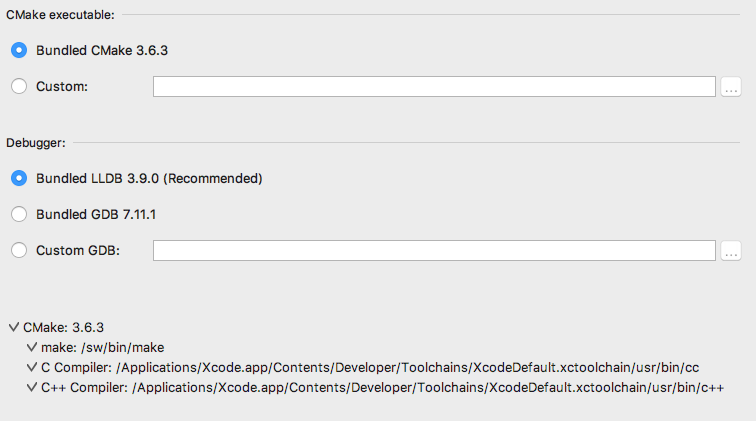
PC: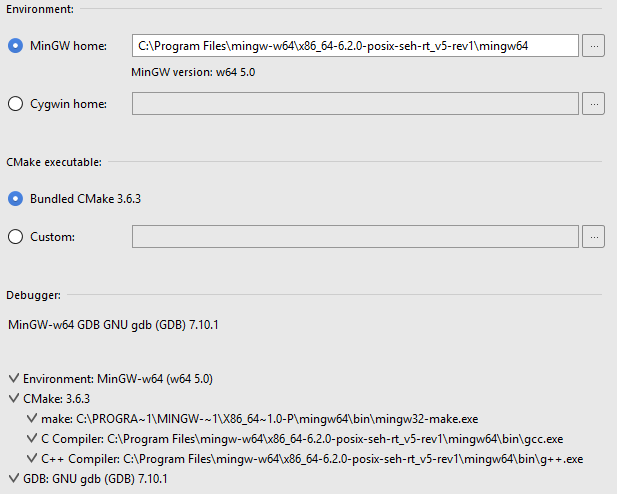
You should not need to edit any of the information on this screen; the compiler
will be automatically detected. Wait at least fifteen seconds for the detection to finish.
(It may appear as though nothing is happening, especially on Windows, but just wait a few
seconds.) On both Mac
and PC, you should see check marks for all the items at the bottom of the screen.
If there are any red stop signs, something is wrong and you should make sure
your compiler was installed correctly. See Professor Kirlin if you need help.